Hi crafters! Signs of spring are appearing more and more and the days are getting longer. Today, I have a spring-time tag to share.
Please note: this post has affiliate links, for which I receive a small percentage of sales generated by the link, at no extra cost to you.

I made a lucky clover tag in memory of having looked for clovers with four leaves as a child (and sometimes still today). The clovers were stamped with Simon Says Stamp Printmaking Clovers stamp set, from the new Beautiful Moments release.

I had this piece of watercolor paper which I liked, but it wasn't quite big enough for a tag. A small piece was missing, but I will fix that. I also cut a tag from plan watercolor paper.

Ink one of the three stamps in the Printmaking Clovers set with Pine Needles and mist with water a few times first.

Repeat with one of the other stamps using Mowed Lawn.

Repeat with the third stamp and Lucky Clover ink. Again, misting with water first.

Ink Simon Says Stamp Swiss Dots with Lucky Clover, mist with water and stamp here and there.

Die cut Simon Says Stamp Beautiful Friend from left-over inky paper.

Distress the edges of the watercolor panel. The sentiments were stamped with Simon Says Stamp Heart Suite.

And the word 'lucky' had to be somewhere on the tag. I also added Simon Says Stamp Pawsitively Dazzling Sprout Gems to the center of each clover.


Thank you so much for visiting today!
Happy crafting!
Anna-Karin
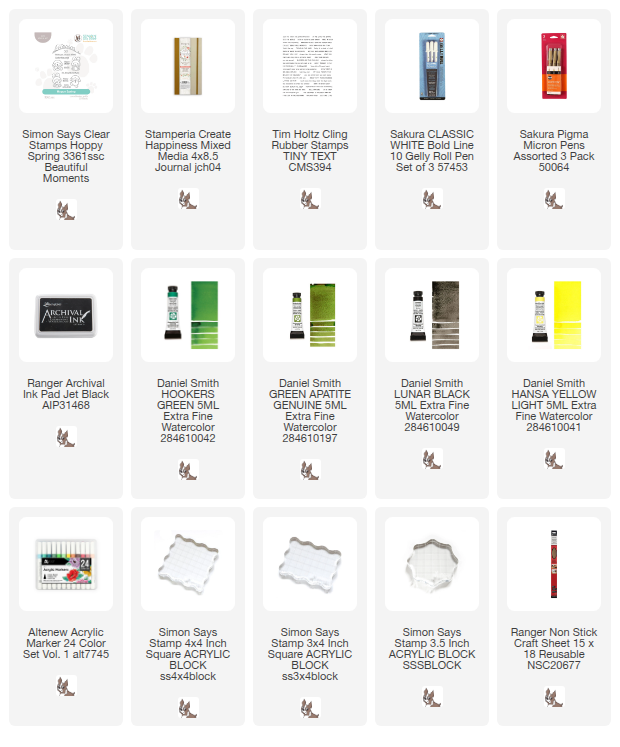
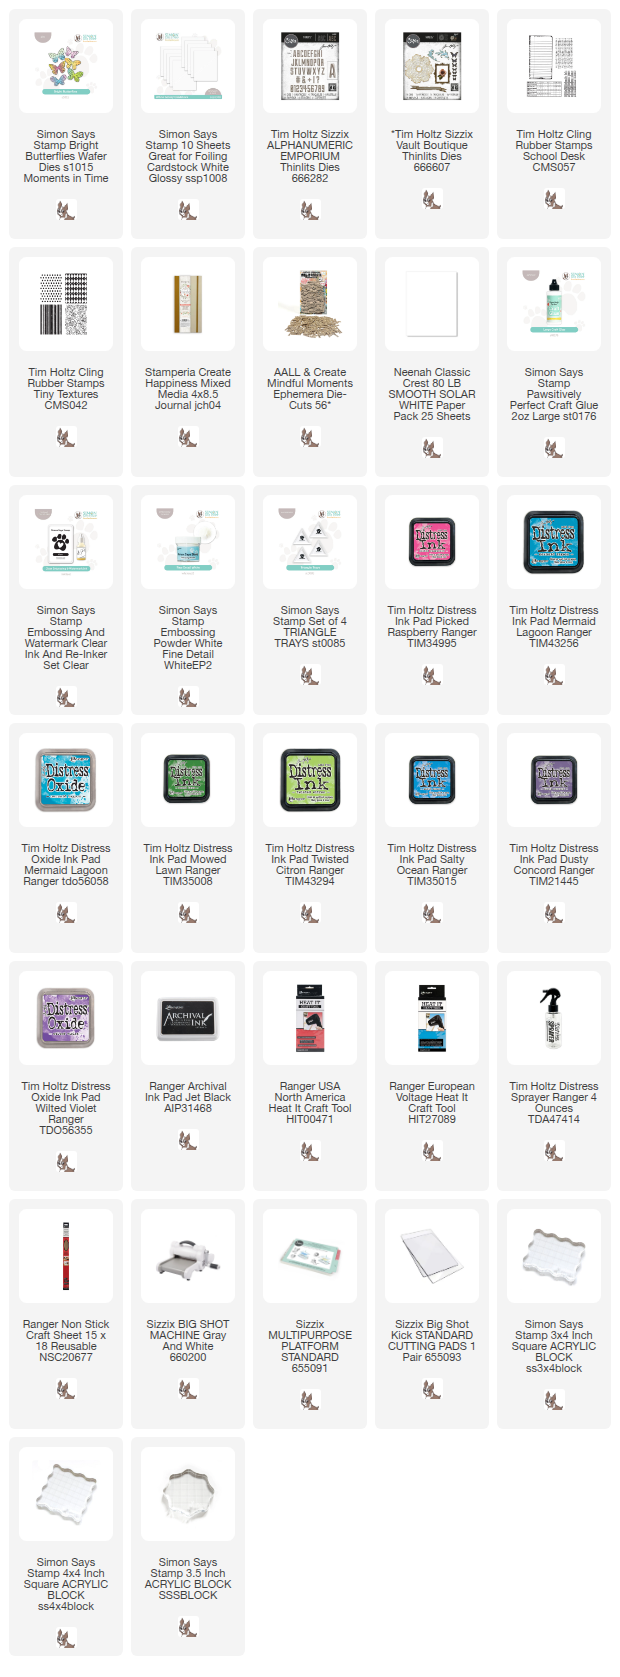
Supplies:
* Please note: the links are affiliate links, for which I receive a small percentage of sales generated by the link, at no extra cost to you.
* Please note: the links are affiliate links, for which I receive a small percentage of sales generated by the link, at no extra cost to you.


%20(1).jpg)